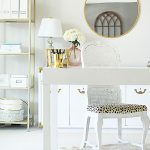
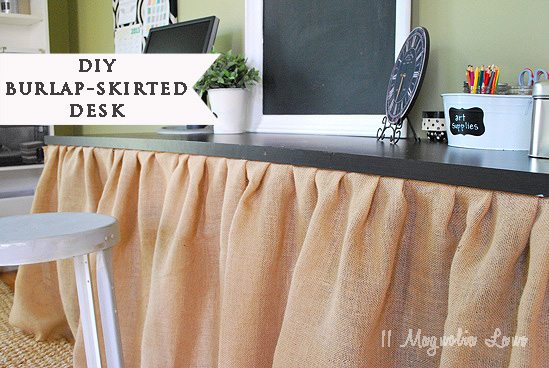
As part of my new “Office” I revealed last week {see that entire post HERE}, I showed off the burlap-skirted desk I built to provide us some additional work space.
This space has already become homework and art project central in our home. My kids have adopted it as their space while I work next to them at my desk. How nice is that?
This is one of those easy and truly inexpensive projects, and since we’ll likely be moving again in a few months it can easily be unassembled and reused, or repurposed for another use.
The main component of this table is the IKEA desktop. I think they run less than $40? Mine is in black, and you can see how it was part of my home office in our last home {shown below}

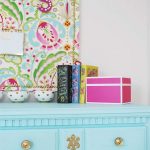
For this house I wanted all the work space I had in my previous office, and needed extra storage for all our art/school/printing/project supplies that seem to multiply overnight. Or maybe we just keep accumulating more as my daughter gets older and more creative? Anyway, more importantly, this room is just inside our front door, so it has to look fairly nice. I figured a burlap skirt {because burlap is always a good thing! 🙂 } was the perfect way to cover all my {and her} stuff stashed underneath.
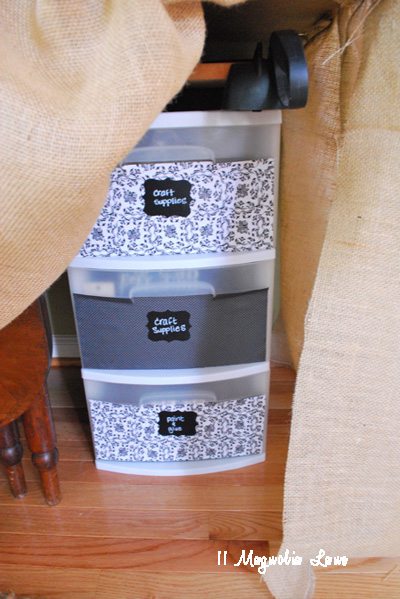
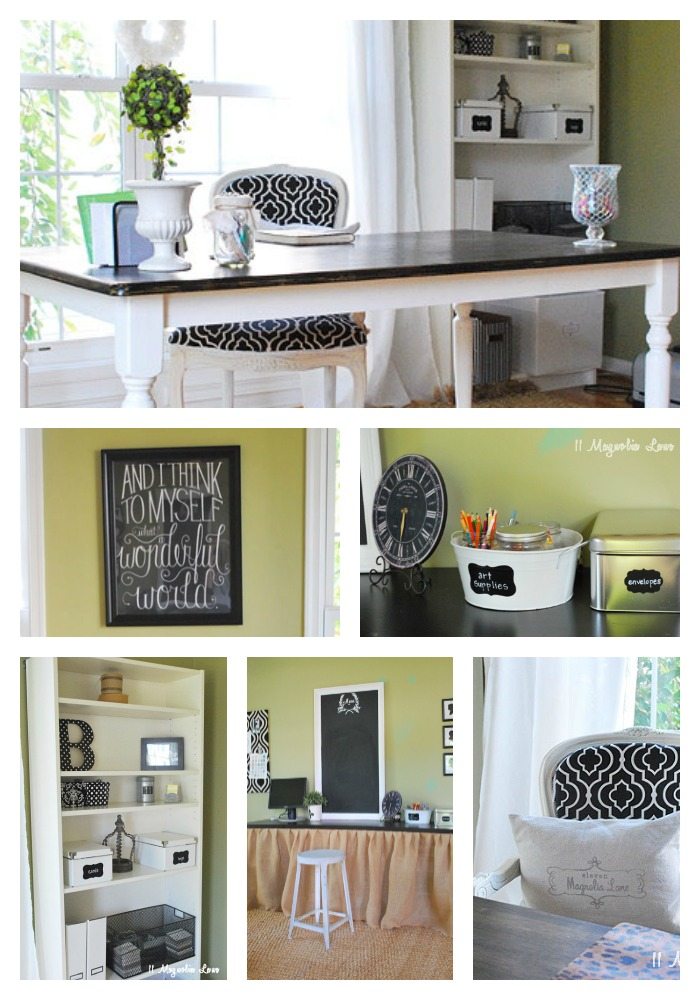
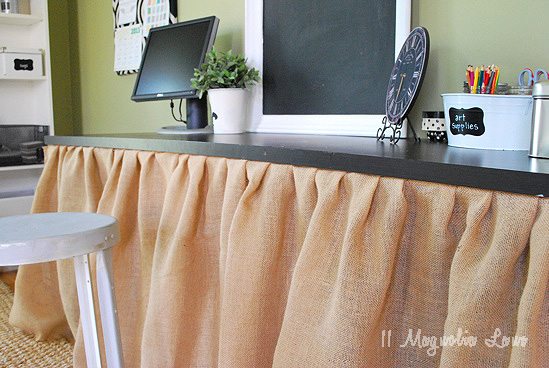
In the image above, in addition to seeing how some of our craft stash is stored behind the curtain, you can see my table ‘trick’. I simply used a table we already had, which happened to be an antique drop-leaf dining table, and just rested the black counter top right on top. That saved me from having to build anything to hold the table up, but you could certainly use pre-cut stair balusters from Home Depot if you didn’t happen to have an antique table just the right size laying around somewhere 🙂
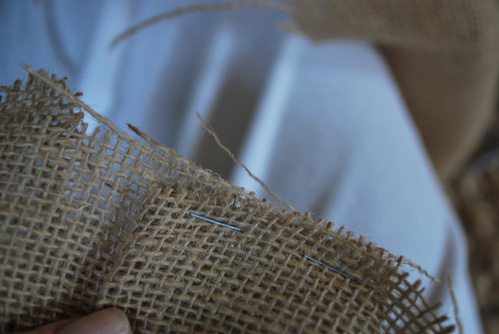
After making sure the counter top was centered on the other, older table, I was thrilled to find I could easily staple the burlap right to the bottom of counter with an ordinary staple gun. This project became SUPER easy at that point! I first assembled the pleats with a very high tech method…yes, a regular stapler. Just the one right on my desk. Pretty fancy methodology, huh?
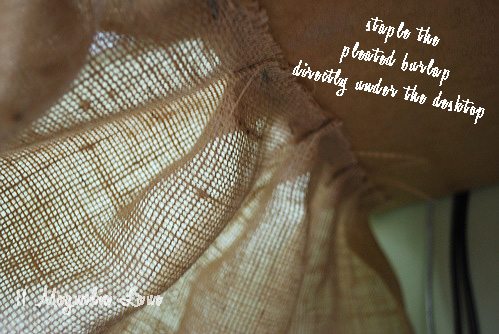
Then I worked underneath the desk, stapling the backside of the burlap underneath the countertop.
I made three sections, a long one for the front and shorter ones for the sides. This project did take more burlap then you would expect {and that is why burlap is perfect for this–it’s cheap!}, I didn’t keep track but I bought at least 7 yards. I did have to go back and get more to finish the sides.
As you can see, I just tucked the rough edges under with some extra staples to keep the corners clean. The corner openings provide access to all that is stashed underneath, so there wasn’t any need to attach them to each other.
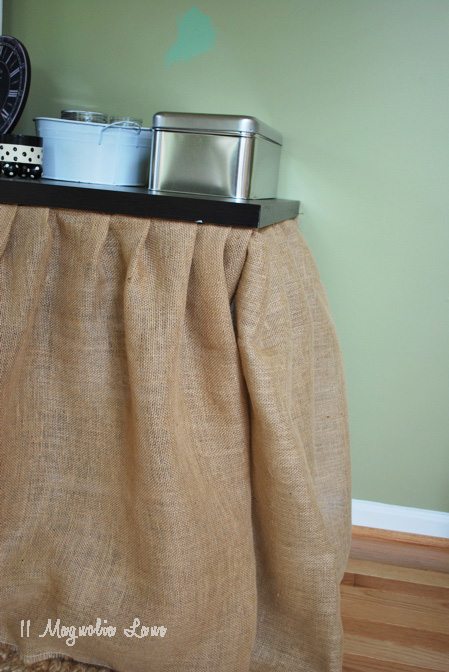
Here is how it looks once finished. Pretty cheap and easy!
If you have questions, feel free to leave them in the comments below.
Thanks for stopping by~