Today I’m resharing a post from quite a few years ago–2015, if you can believe it–because I’m hoping to build a similar plate rack for our kitchen here in Germany. The nice part about this easy DIY is that you can customize the rack, and it’s definitely beginner-level carpentry. I used a few power tools but it can be done without them. Before I had a saw, I just had them cut my wood for me at the store. It’s a project that takes just a few hours but makes a big impact!
DIY Custom Plate Rack (For $40!)
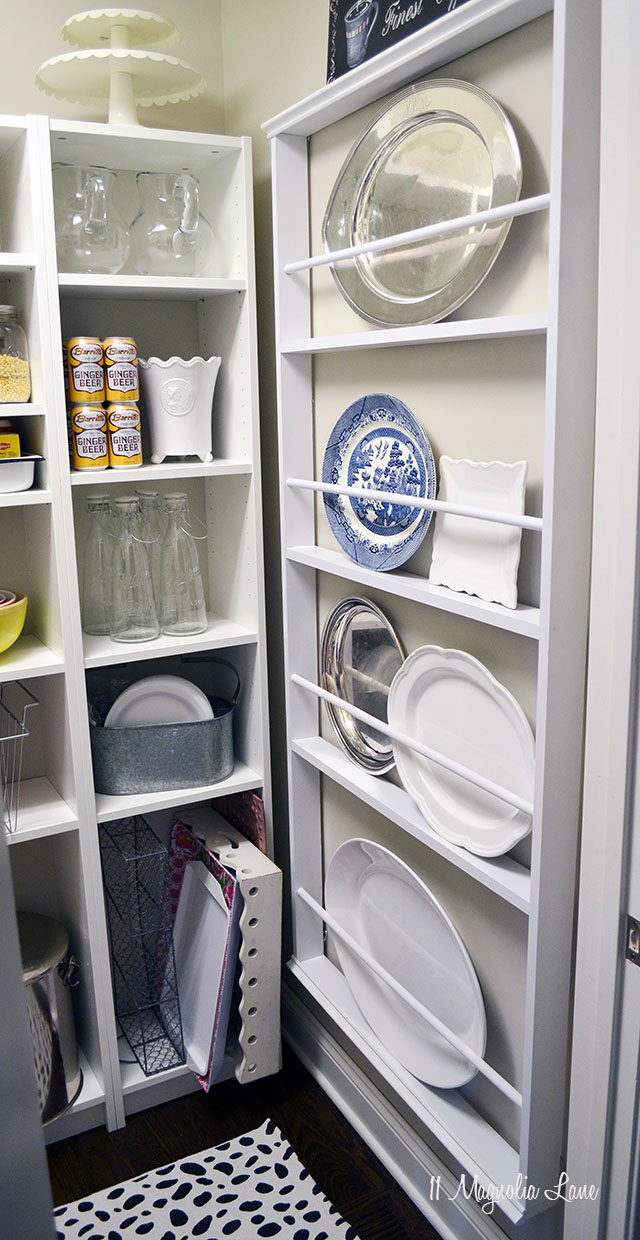
If you follow us on Instagram, then you saw a sneak peek of this project when I finished it last Saturday night–I was a bit gleeful because I LOVE IT!
Seriously, I have always wanted a huge plate rack in my pantry. Well, this is about as huge as it gets–it takes up an entire wall in the pantry that I’ve created out of an empty closet in our new house. You can read all about my big plans for our garage entryway {here}; the pantry is part of that along with some built in bookshelves and a closet-turned-mudroom like Amy’s.
This would also work on a wall in the kitchen…the best part is that you can customize it to fit any size room or wall. And it’s inexpensive. My BIG old rack (5.5′ tall and 32″ wide) cost under $40. Here’s how I built it:

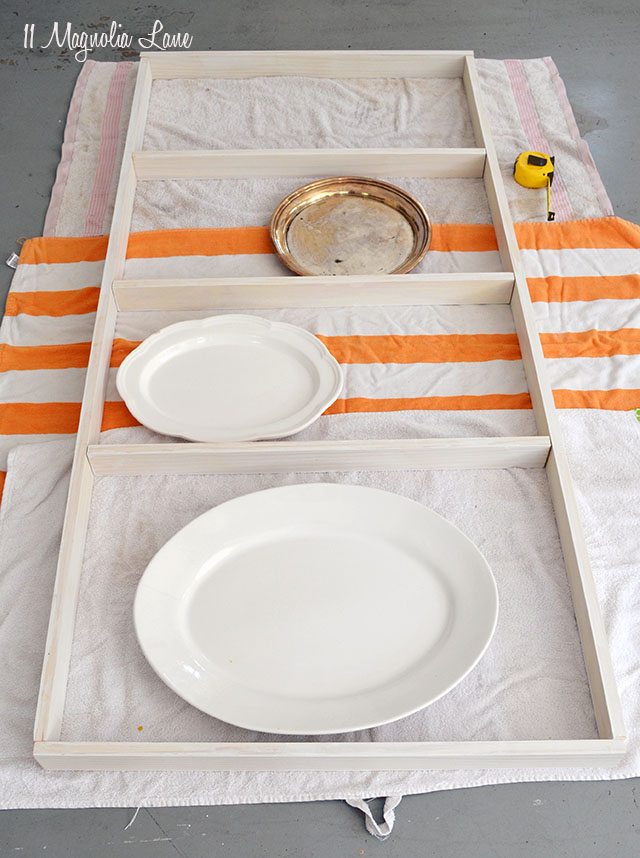
While you’re measuring, plan out how many shelves you want your rack to have. I have a HUGE platter that I wanted on the bottom shelf, so I figured that into my measurements.
2. Go to the store and spend hours wandering the trim and lumber aisles aimlessly. Seriously–tell me I’m not the only one!
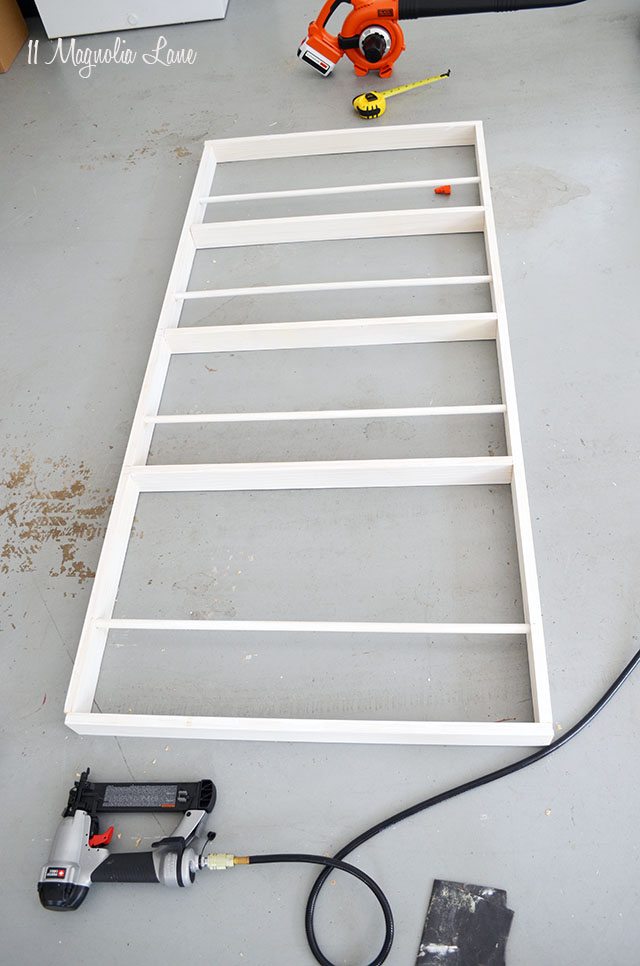
This is what you’re buying lumber to make: a box with shelves, and then dowels (or trim) in front of each shelf. I’ll jump ahead a step to show you:
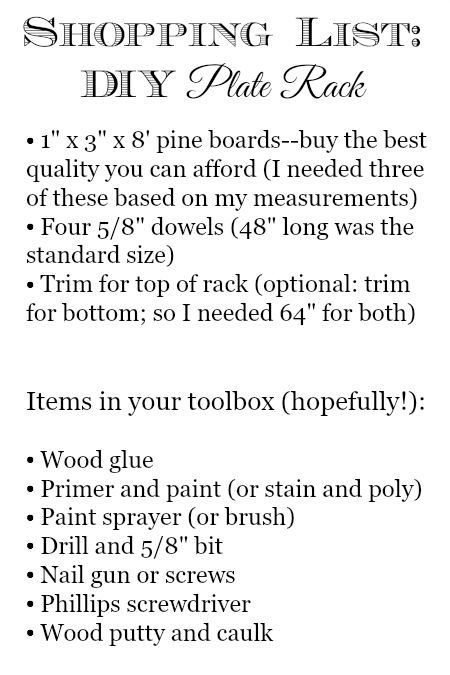
Here’s the shopping list for a rack of my size:
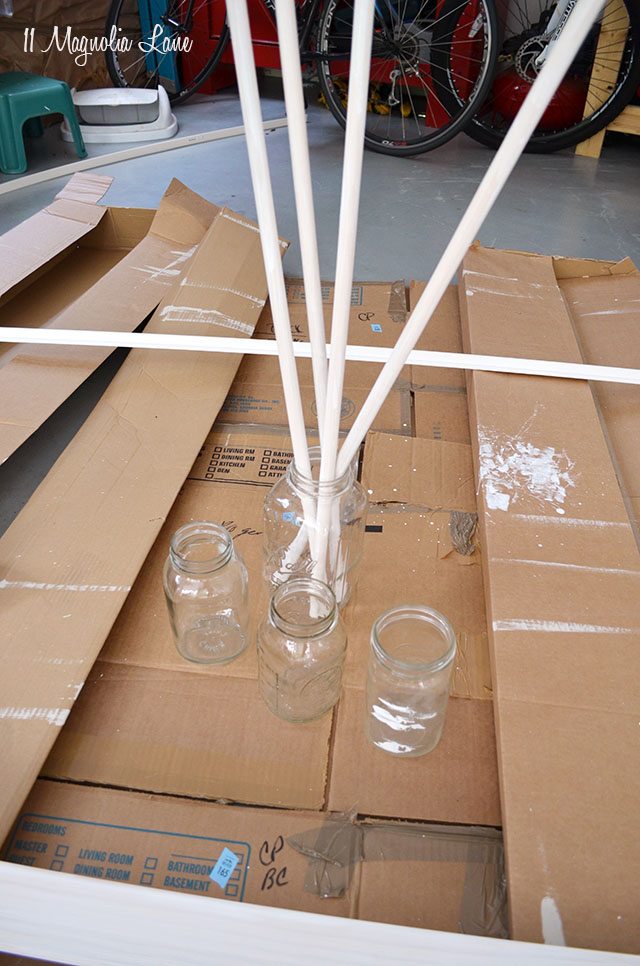
4. I primed all the pieces before I assembled the rack, using a brush (in hindsight I would assemble it first and then spray the primer as well as the paint because painting dowels with a brush is a pain!). Tip: dowels or pieces of trim, if they’re not too long, can be placed inside a tall jar or bottle while they dry.
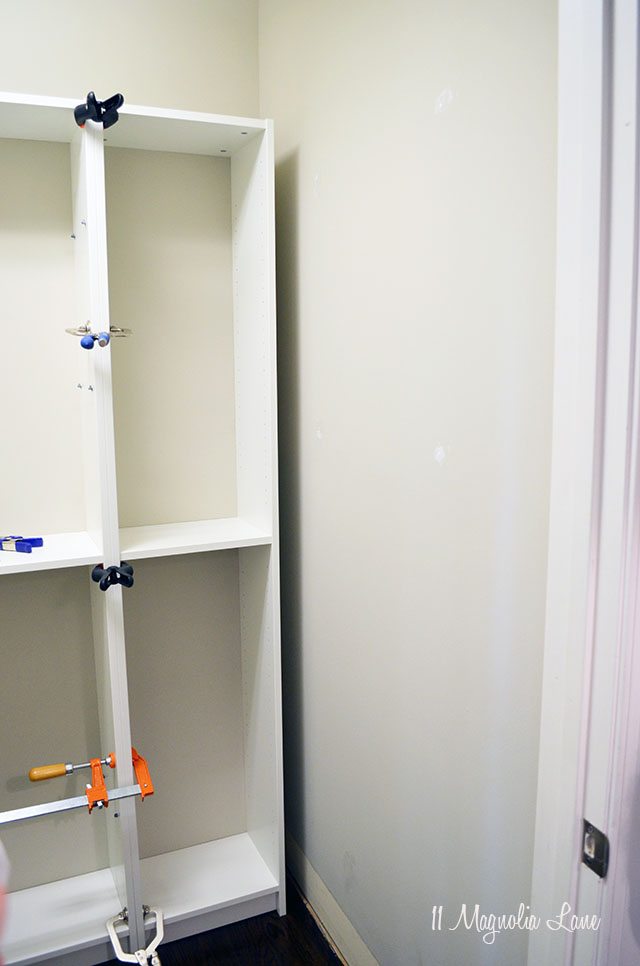
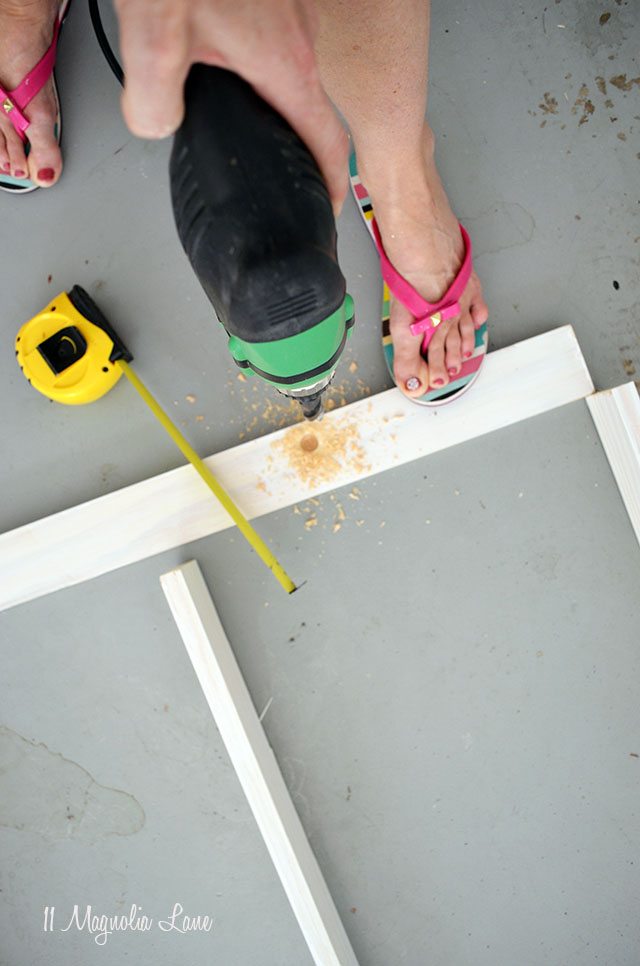
5. Assemble your rack, making sure that it’s square, but don’t nail or glue anything yet. Measure 1/3 of the way up each shelf to determine the right placement for the dowel (my top 3 shelves are about 15″ tall so the dowel is 5″ up from the bottom of the shelf) and drill a hole about 1/4″ deep for the dowels. This is a BIG drill bit, so go slowly!
6. Now, starting on one side, use wood glue(I used this one) and your nail gun to put the frame together. You can put everything together except for one of the long sides. It might help to have another set of hands to hold the dowels in place until that other side is in place! A nail gun makes this job so quick and easy (this is my exact one and I love it), but if you don’t have one you can certainly use nails or wood screws to hold everything together. I don’t recommend only glue for a rack of this size; you want it to be sturdy. (Tip: If you would rather nail or glue trim to the front of the shelves instead of using a dowel, check out this great tutorial from our friends from At the Picket Fence.)
7. Cut the trim and nail it to the top of the frame. I also trimmed the bottom; that’s optional.
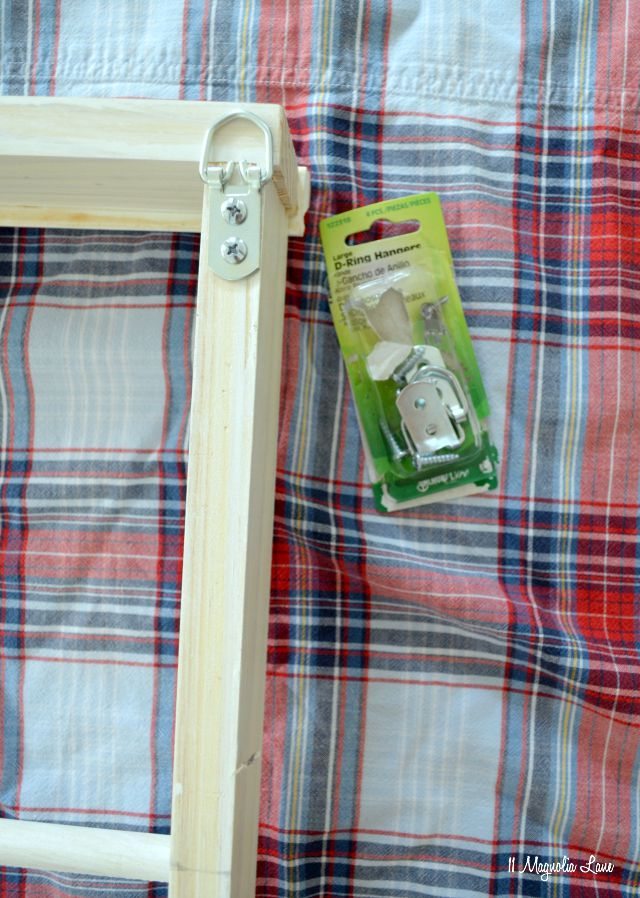
8. Screw the D-rings to the back at the top and the bottom of the rack (I used four total). You could also use sawtooth hangers.
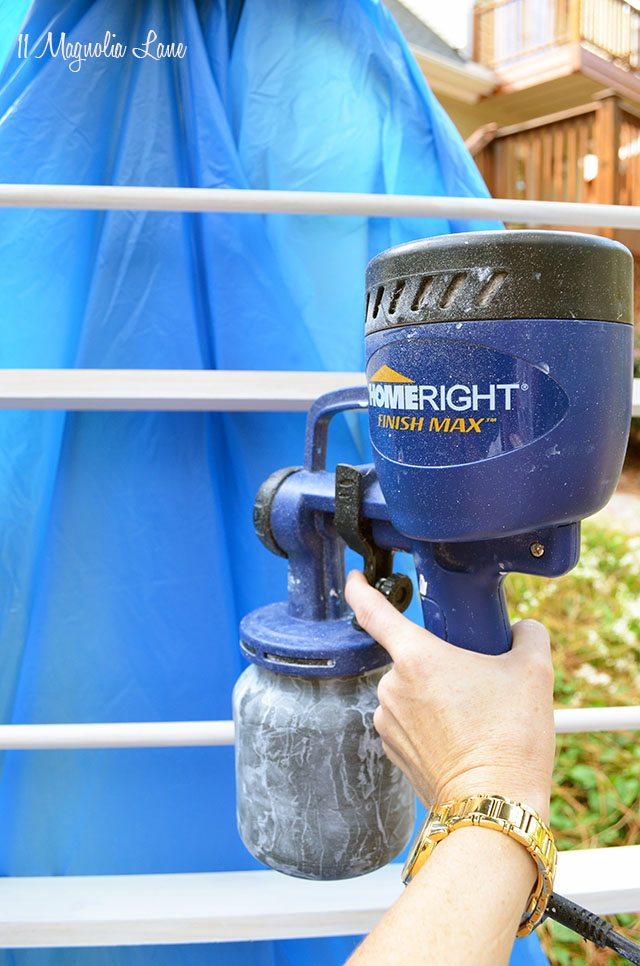
9. Now the fun stuff–painting it with the FinishMax Fine Finish Sprayer. You can also spray stain with it (I debated for quite a while over painting vs. staining). It gives you an absolutely flawless finish and is simple to use–and just as importantly, easy to clean. If you don’t have the budget for a paint sprayer, a couple of cans of spray paint work just fine, too.
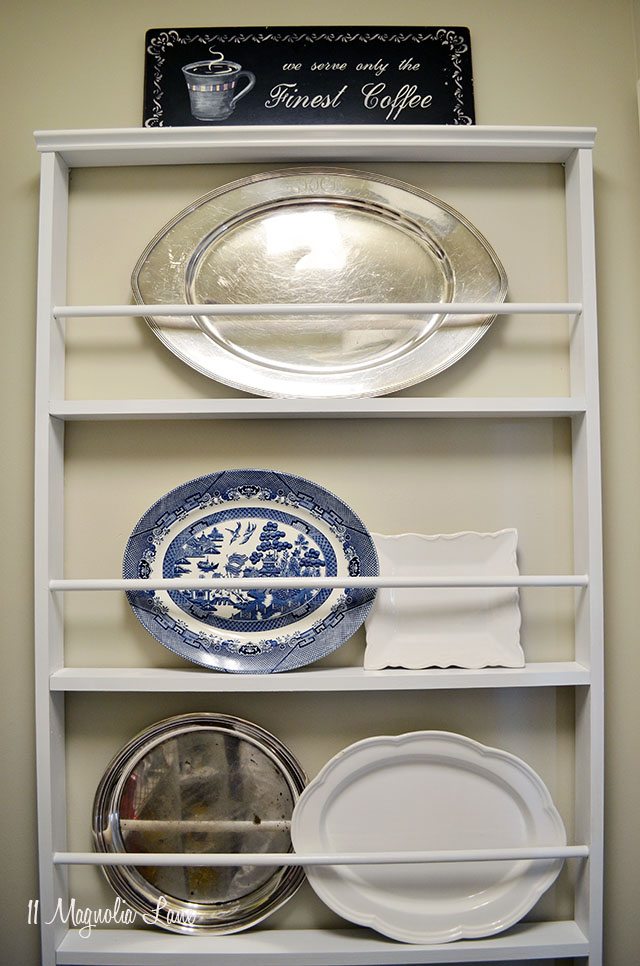
10. Hang your rack on the wall and have fun styling it with platters–always the best part of any project!

Other posts in this series:
Plans for an Organized Entryway
Progress in My Garage Entryway: Paint and a Striped Wall
How to Paint Horizontal Stripes on a Wall