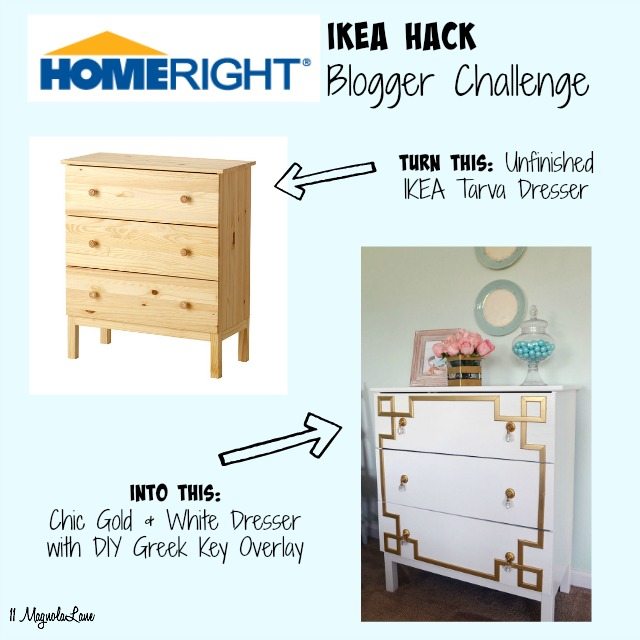
We mixed things up a bit this month, though. HomeRight decided to run a contest and sent five of us these IKEA Tarva dressers and let us do whatever we wanted with them–as long as we used at least one HomeRight product to create our “after.” You guys will have a chance to see the other four creations later in this post, and soon we’ll be asking you to vote for your favorite (hint, hint).
The Tarva is plain, unfinished pine, and here’s what it looked like before I got my hands on it:

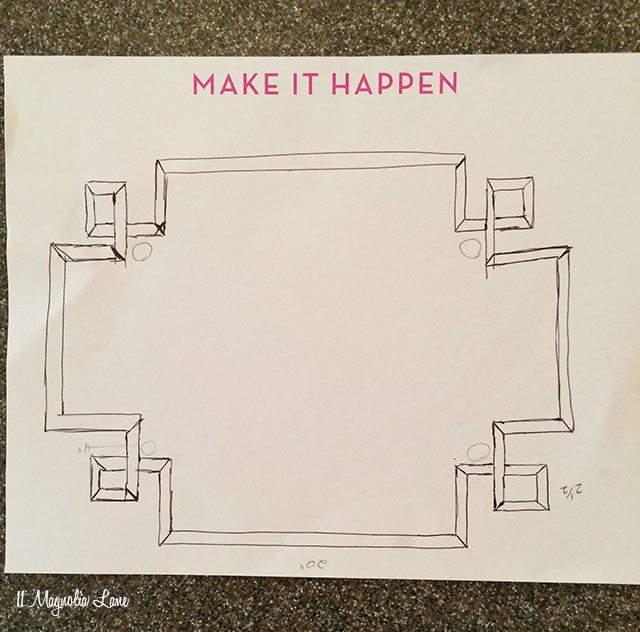
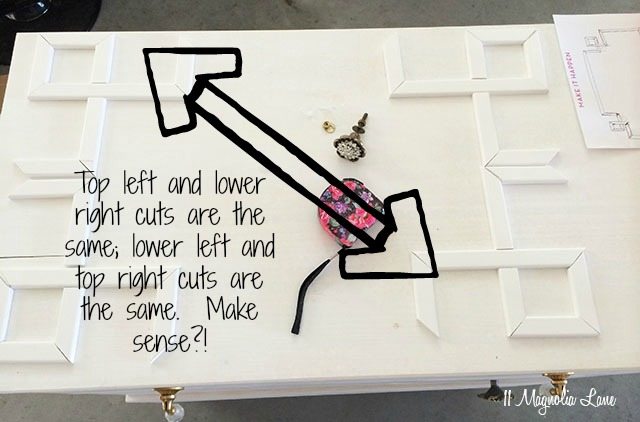
Then I drew up a very high-tech plan for how I was going to create all of those angles:
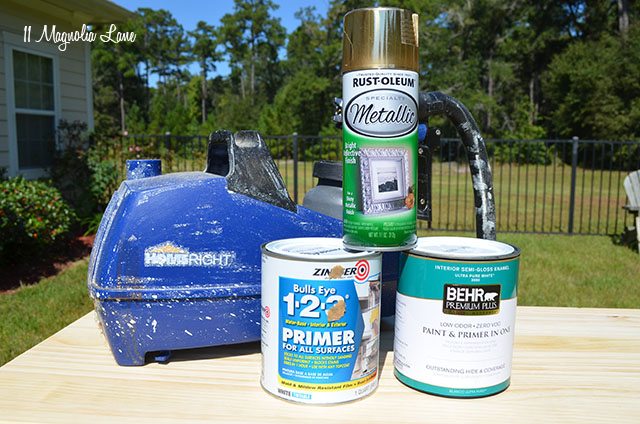
I gathered my supplies: my HomeRight FinishMax Propaint sprayer, my HomeRight FinishMax Propaint sprayer(my favorite), semi-gloss white paint, and HomeRight FinishMax Propaint sprayer(also my favorite).
Then I went to town with my miter saw and the screen trim, as I cut the pieces of the Greek key trim. Since I only had to cut 45° and 90° angles, it wasn’t that bad; and you shouldn’t even have to move miter saw from one 45° angle to the other because you can cut molding right side up and upside down to get the correct line:


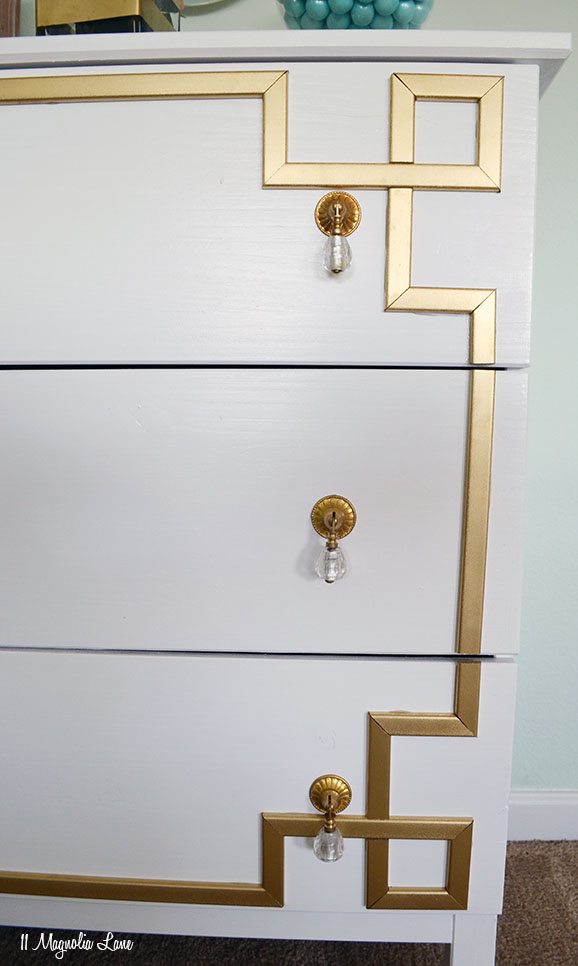
The top left corner has the same pieces as the bottom right corner. The top right corner has the same pieces as the bottom left corner.
Here’s what you wind up with when you lay it all out:
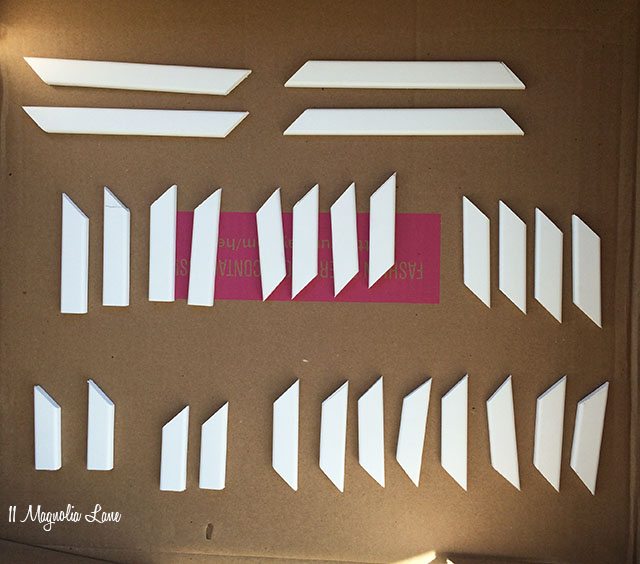
And here are all the measurements:
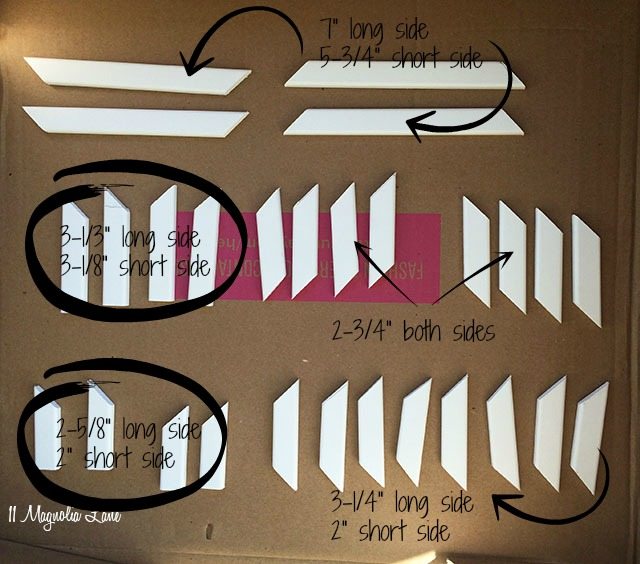
You’ll have plenty of screen trim left over, so if you mess up a few cuts, you’ll be fine. Just keep lining up your pieces as you go.
I cut my pieces and then spray painted them gold. The Rust-oleum covers beautifully in one coat, but I used two just to be sure. I do recommend that you finish it off with a coat of their HomeRight FinishMax Propaint sprayer to keep the gold fresh and shiny over time.
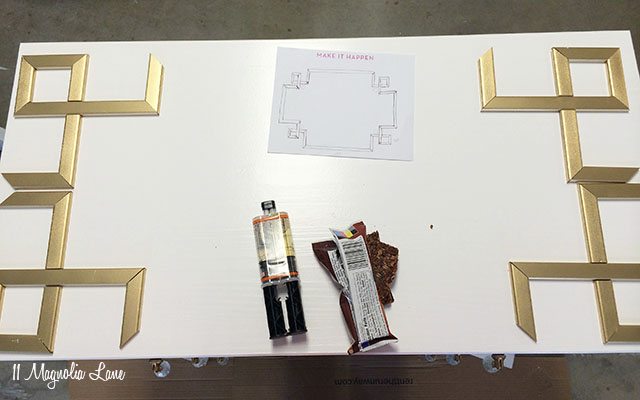
Do you see the granola bar next to the epoxy glue in the above photo? I usually have cold pizza, soda, and the like in my photos–that’s how I work best!
The next step was just to glue the pieces in place. I used HomeRight FinishMax Propaint sprayer; it holds the pieces in place with enough flexibility to move them into place, but then it locks them in tight so I don’t have to tape them or hold them in place while the glue sets.
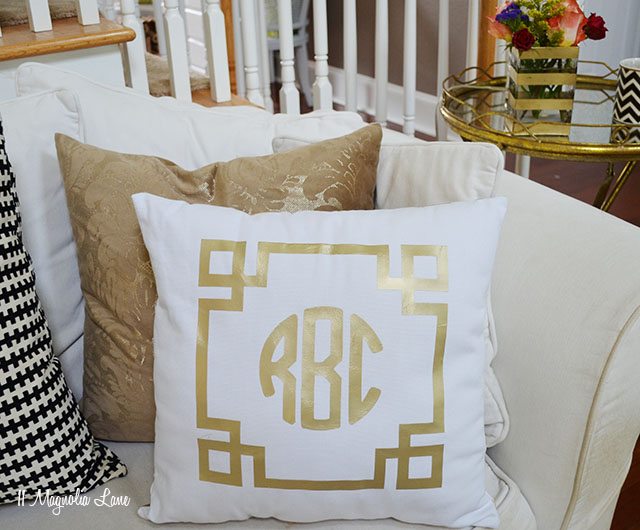
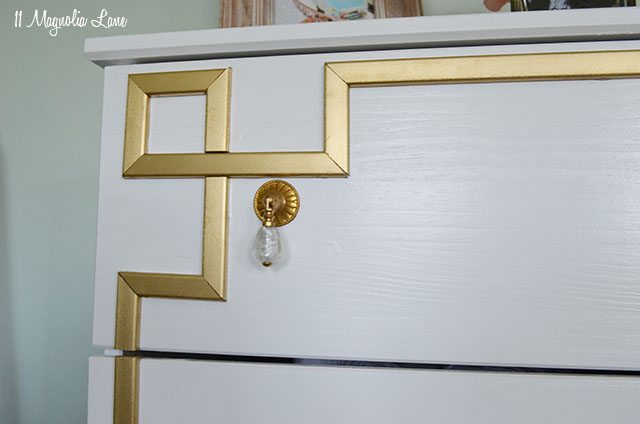
Last, I cut the long lengths for the top, bottom and sides. They were all about 13-1/2″ on the short side. Obviously I cut the pieces on the left and right so that the drawers could open and shut. Here’s the finished product:

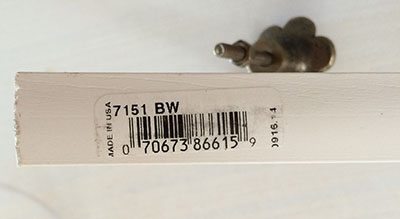
Obviously, the drawer pulls aren’t the original wood ones. I bought these at Hobby Lobby for $3 apiece:

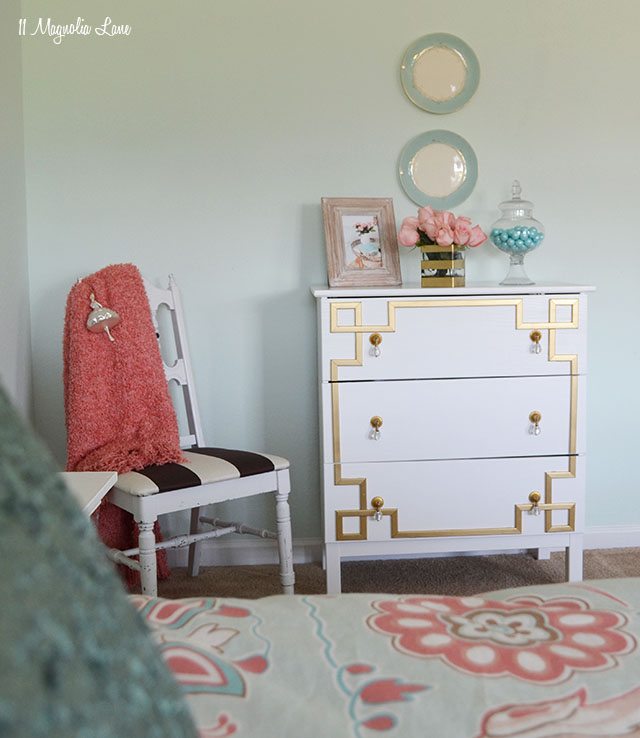
And here’s the fun part–all of the awesome “after” pictures! That’s why we do these projects, right?!
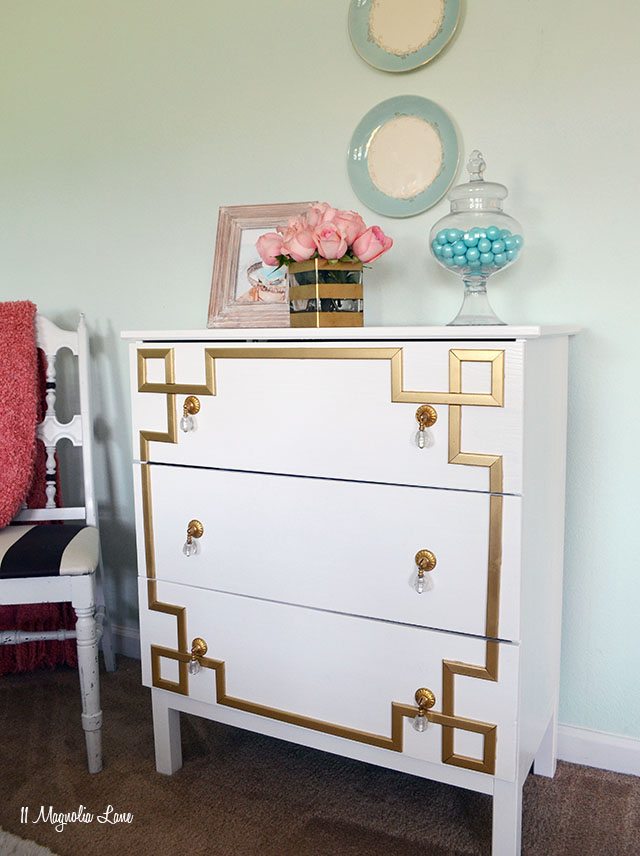
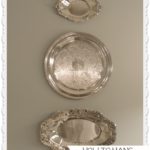
| Gold-striped vase | Plates–vintage | Frame & Apothecary Jar {HomeGoods}
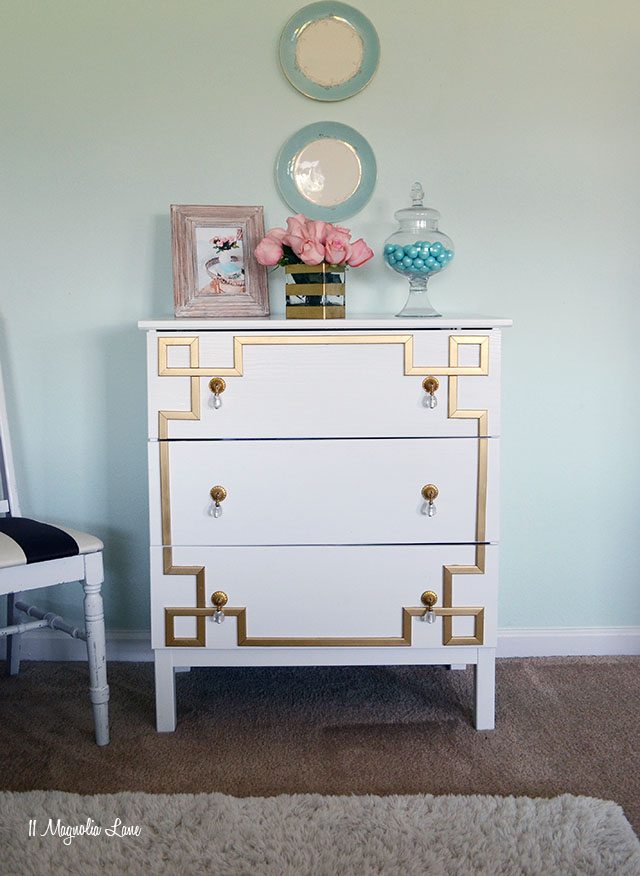
| Chair-vintage | Rug-Target |
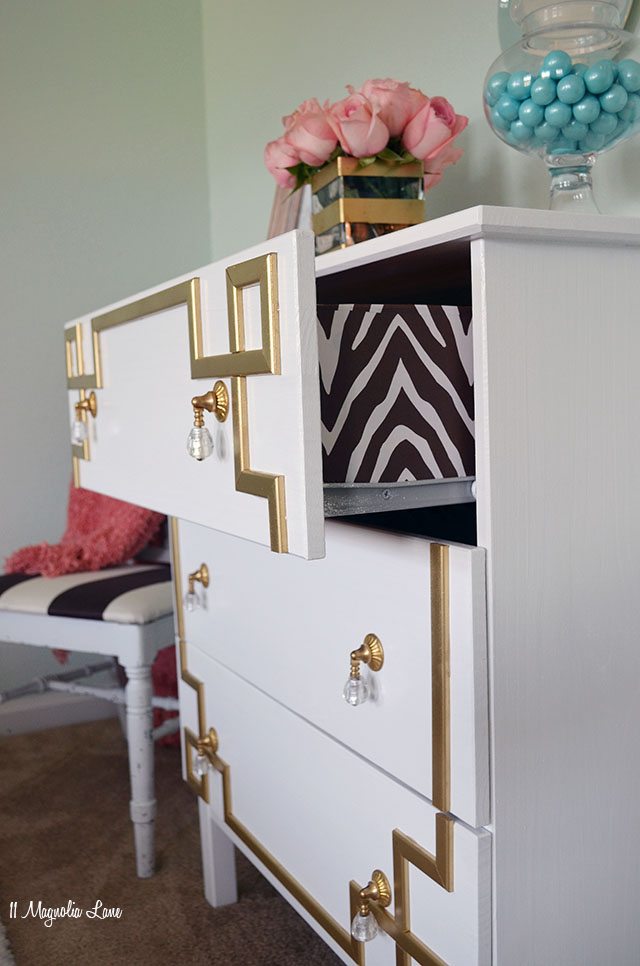
I put a brown and white zebra patterned shelf paper on the outside of the drawers, just to jazz them up a bit (like Amy did in her daughter’s room). I’ve had it for awhile, but it was from HomeGoods originally.
I absolutely love how it turned out, and so does my daughter. Now, maybe she’ll put her laundry away in those drawers! 🙂
You can see the rest of my daughter’s room {here}, and her bathroom is {here}. I’d love to hear what you think–it’s always a work in progress!
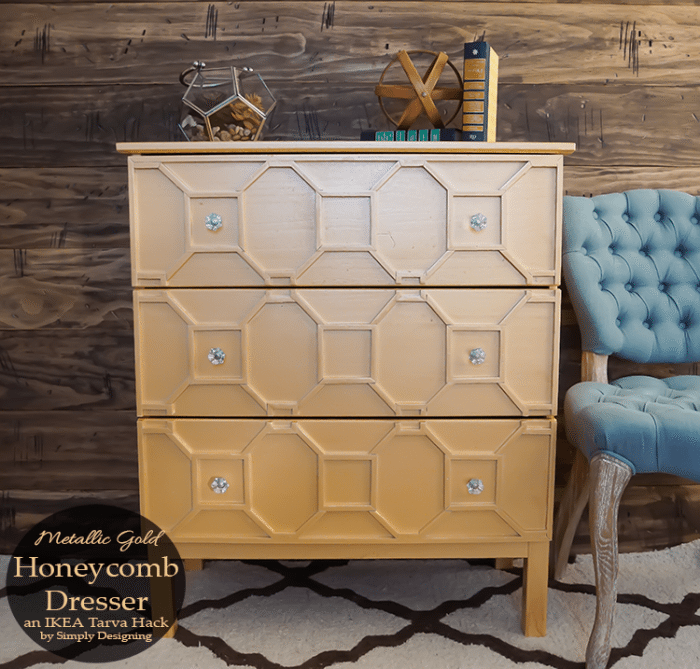
Ashley at Simply Designing created a gold honeycomb dresser (I think she spent even more time with her miter saw than I did!):
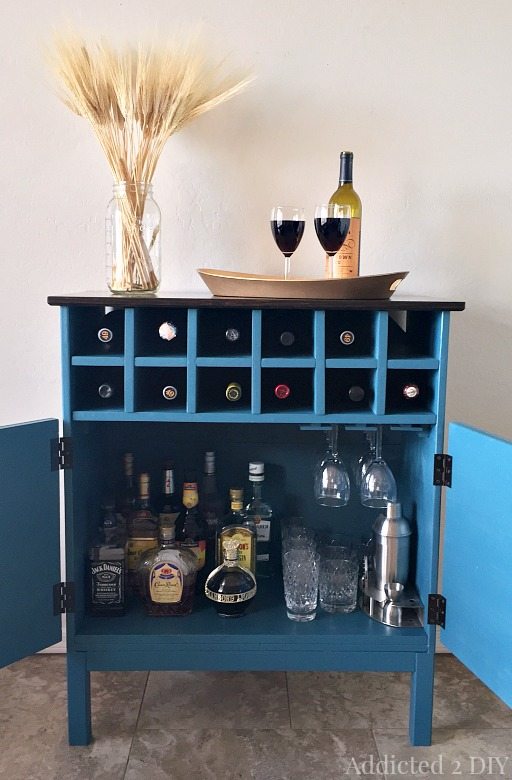
Katie at Addicted to DIY made this beautiful teal wine rack/bar cabinet–seriously!
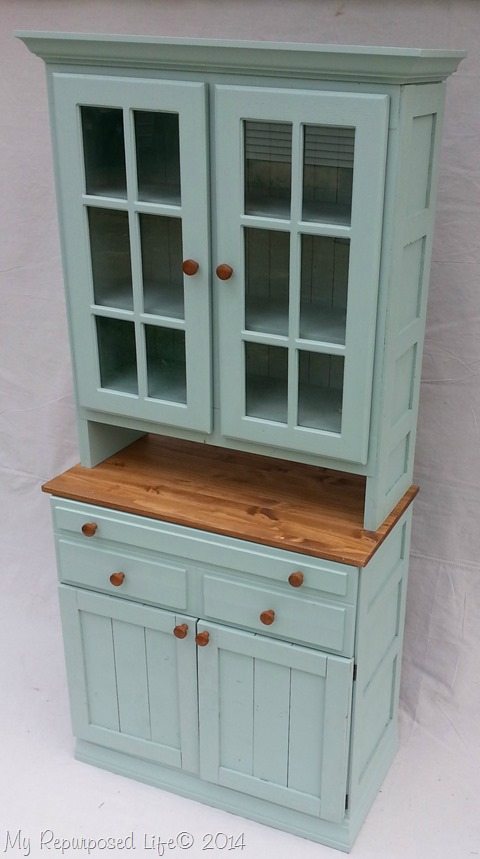
Gail at My Repurposed Life created this hutch (she is a serial overachiever!):
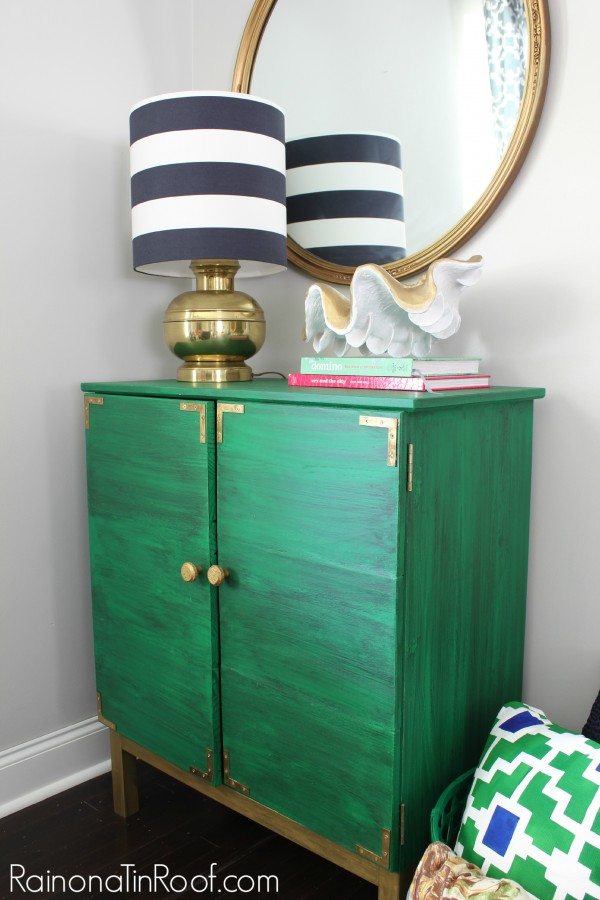
And last, but not least, Jenna at Rain on a Tin Roof hacked her dresser into this gorgeous emerald green bar cabinet.
•••••
Don’t forget to follow along via social media using the black buttons underneath my picture. Or click {here} to sign up for our email updates–you’ll get an email every time we post something new and we will never spam you or sell your email address.

I am thrilled to be a HomeRight Brand Ambassador, and every month they give me a product to try (and one to give away). While they sponsored this post, all opinions are my own.
Thanks for stopping by!