Remember this beautiful chair? Well, the post on how I painted “her” and took her from frumpy to fabulous is still one of our top posts of all time, and I get comments and emailed questions virtually every day from people who want to undertake a similar project.
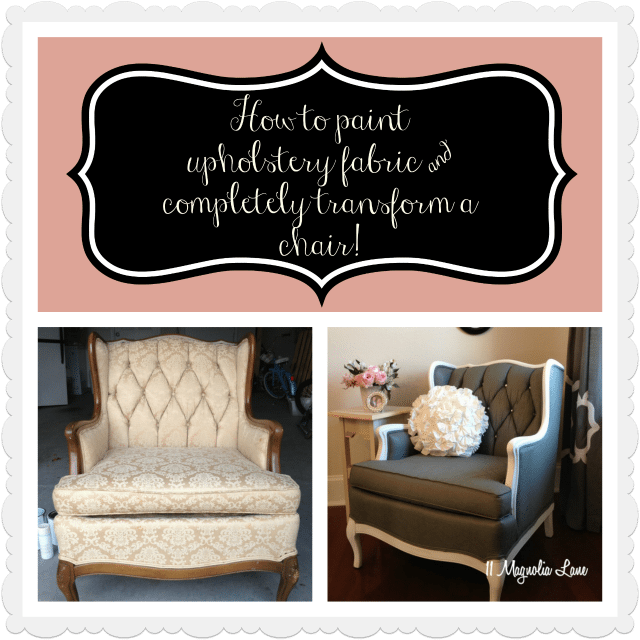
Remember, the step by step tutorial is here; these are just the follow up questions. If you’re attempting a project like this for the first time, I definitely recommend that you read both posts.
So, in no particular order:
1. What kind of paint did you use? Would XX kind of paint work?
I used acrylic craft paint {the exact one is here}, the small bottles that you buy at the craft store, and they worked great. I am about to undertake another upholstery painting project, and I’m going to use latex paint instead, and I’ll let you know how that goes. Other bloggers who have used that seem to think it works fine (plus you can have the paint counter tint it to whatever color you want). Update: I used regular latex paint on my outdoor cushions {here} and I found that they were much stiffer. I’m not sure if that was because of the paint or the fact that it was outdoor fabric, though.
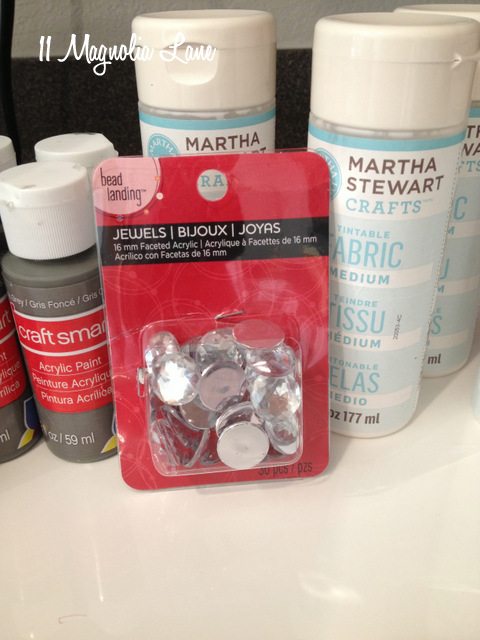
The fabric medium is mixed with the paint and its purpose is to keep your fabric from being too stiff after it absorbs all the coats of paint. It is a thin white liquid that you mix in with your colored paint. You probably could skip it, but I would think you’d run the risk of your fabric cracking.
I buy mine at the craft store with a coupon, but you can find it online at Amazon (affiliate link):
3. How does the chair/fabric feel after it’s painted?
Mine feels like outdoor fabric feels, but a little stiffer. If you’ve ever sat on a naugahyde restaurant booth, it’s kind of like that. That being said, I am about to use this process on my outdoor seating set, and I have a feeling that it will repel water beautifully. And yes, I’ll let you know how it turns out! Update: that project is now done; read out it {here}.
The downside to the stiff fabric is that I wouldn’t necessarily recommend this for the couch you sit on every night, unless you don’t have another option. The upside is that spills just wipe off and pet hair vacuums up easily. I assume that we ever do stain it permanently, I can probably just put on another coat of paint!
I have read that a coat of clear wax worked into the fabric after painting makes it softer, but I haven’t tried this and can’t give you any more details on the process because of that.
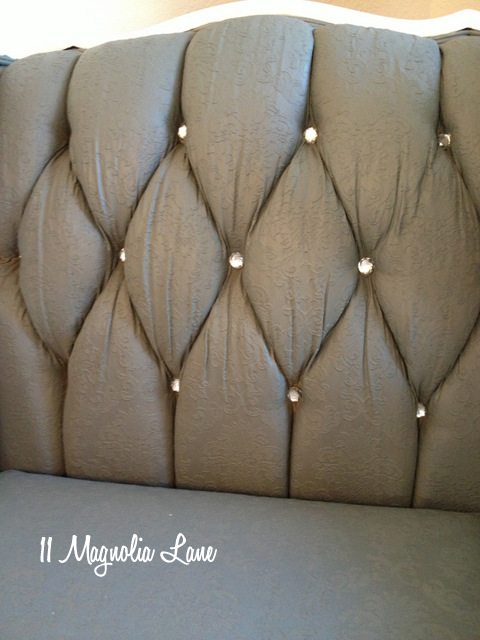
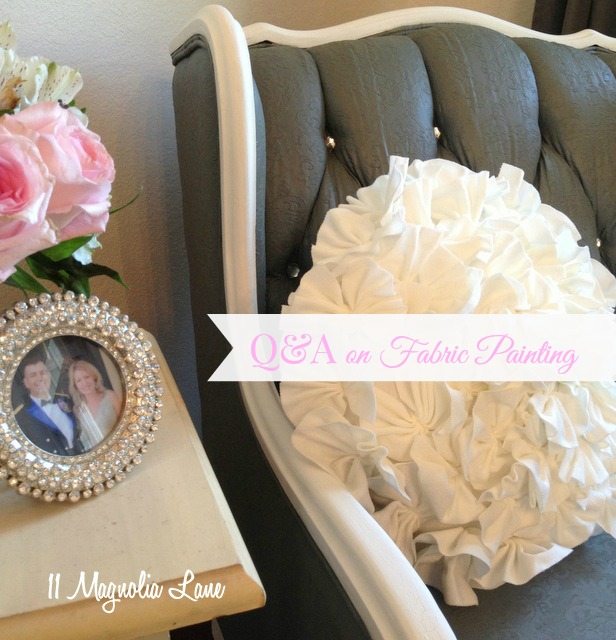
I added the rhinestones to the buttons for a little “bling”
4. Does the paint rub off when people sit in the chair?
No. After it’s dry, it’s dry. If you lean up against my kitchen wall, which I painted a week ago, paint doesn’t rub off on your clothes. I have wet a cleaning cloth and scrubbed really hard at the seat and there has been no color transfer. Your white pants are safe!
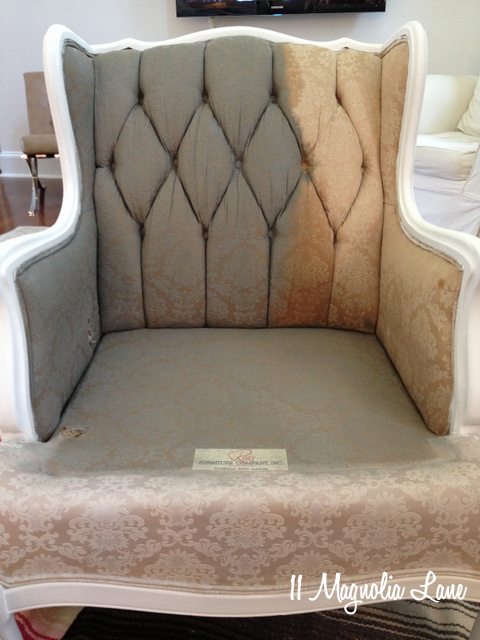
3. Can I paint a light color over a dark color or pattern? Can I cover stains with this process?
Yes, I think so. I only say I think so because I didn’t cover any stains myself on this chair. However, I’ve seen other bloggers paint over dark colors, patterns, and stains, and it’s worked fine. Just remember that you want to use multiple thin coats of paint (and fabric medium!) so that your finished product isn’t too stiff.
Use multiple thin coats of paint for the best results
4. Can I paint my velvet/needlepoint/silk chair/sofa/loveseat using this process?
The answer to this one is probably, but I don’t know. Well, don’t paint leather, but other than that, give it a try! If it’s a piece that I don’t love and want to use in my house as it is, and I’m either going to donate, sell, or reupholster it anyway, then what do I have to lose by giving it a try? The same is probably true for you guys.
Update: I’ve since painted a velvet chair. You can read about that process {here}. It’s gorgeous, but VERY stiff and scratchy!
5. How does this compare to reupholstering?
Having done both {read about my loveseat reupholstery project here and here}, this takes WAY less time, is WAY less expensive, and WAY less difficult. Seriously. It’s my first choice for rehabbing furniture that’s in decent shape but needs updating.
6. What kind of paint brush did you use?
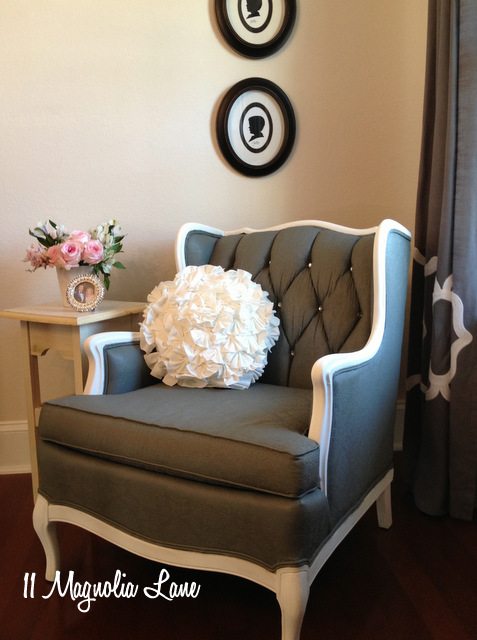
This is in the tutorial post, but I just used a regular 2″ painter’s brush (like this). I used a very fine artist’s brush (probably from a craft store) to paint the piping of the fabric so I didn’t get any gray paint on the white wood trim.
7. Have you used XXX product to paint anything? How did it work?
So far, this is my only fabric painting project, so I haven’t tried any of the fabric spray paints out there, or any that require heat or other steps. I’ll be sure to let you know if I do!
Update: I used regular old Rust-Oleum spray paint on some outdoor cushions {here} and wrote about that, and my outdoor seating set using the same technique I used on this chair {here}.
8. How is it holding up over time?
I did this project in September 2013, so it’s been almost seven months. The chair looks just as good as it did on the day I finished it. Keep in mind, though, that it’s in my dining room and doesn’t get sat in on a regular basis–only when we’re entertaining. (UPDATE: It’s now been two years–this chair still looks amazing!)
9. How much did your project cost?
I spent about $30 on fabric medium, paint, and the rhinestone buttons (those are optional, of course). Your total cost will depend on what you pay for your chair; mine was a whopping $60 but I think she was worth every penny!
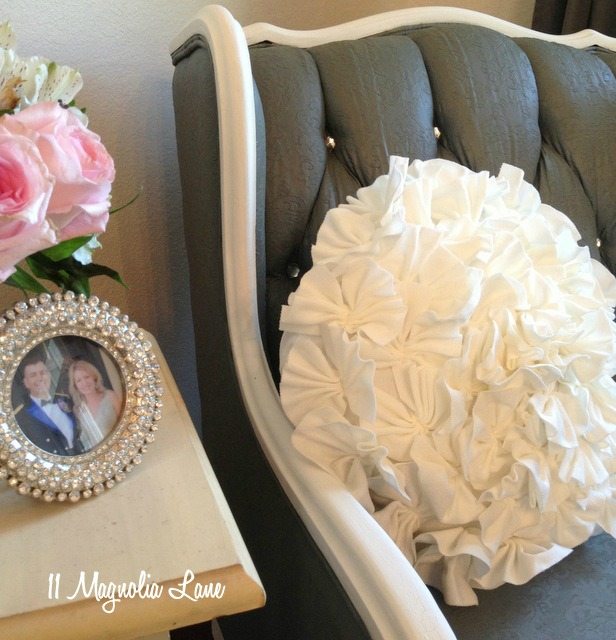
10. Where did you get the white ruffled pillow?
Inquiring minds want to know! HomeGoods for $12.99 🙂
I hope that helps–plus, I always like to know how projects hold up over time. Good luck with your fabric painting project!
Disclosure: Our posts contain affiliate links. If you make a purchase after clicking on these links, we will earn a small commission, which helps to keep our content free. You don’t pay a cent more than you would otherwise, since that would be tacky!
Thanks for stopping by.

![]()
![]()
![]()
![]()
![]()