Can you believe it’s already Day #7 of Operation: Organization? We’ve had so many creative bloggers share their ideas over the past week. I’ve pinned everything, and it’s time to get to work!
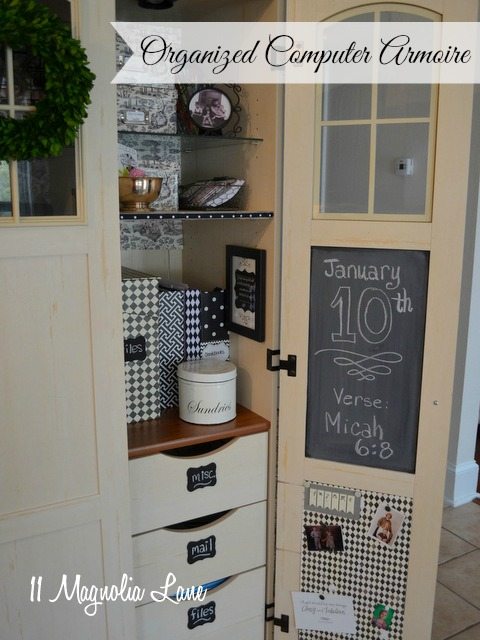
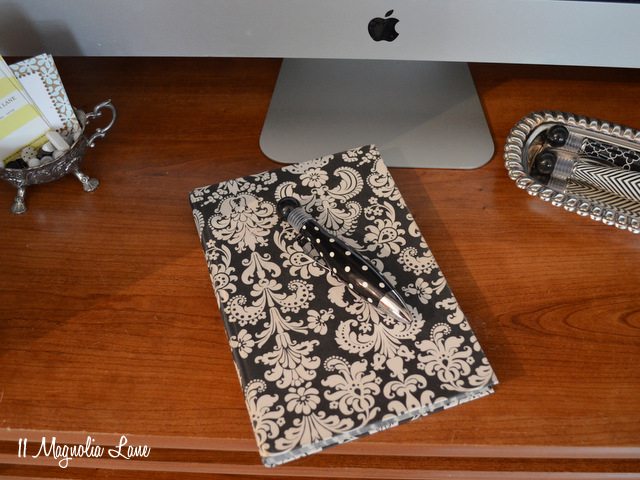
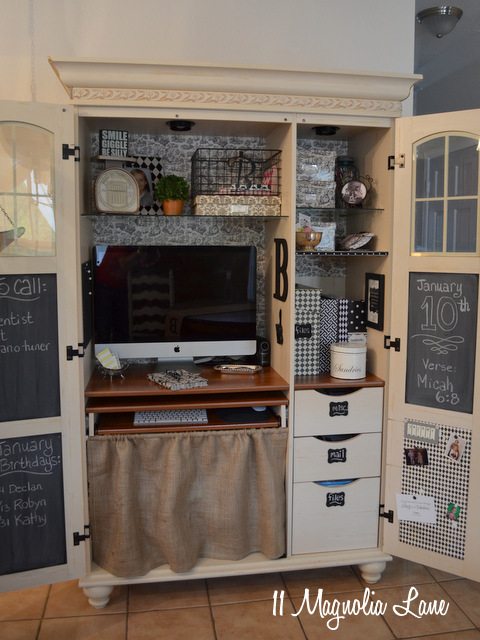
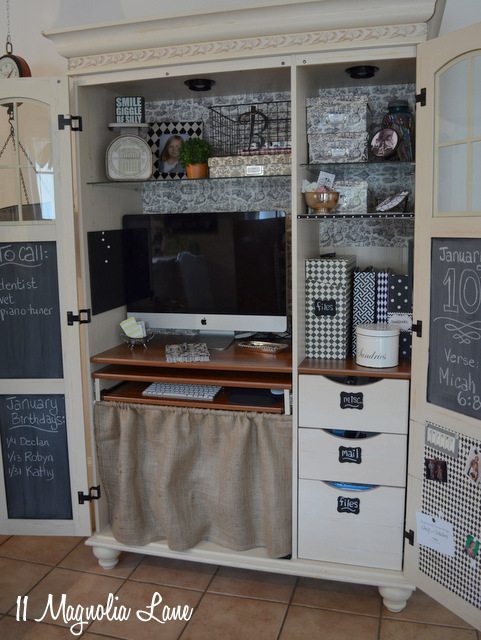
Today I’m sharing my computer armoire. I decorated the inside to make it as beautiful, organized and functional as possible, because in our current home, it’s our ONLY office area.
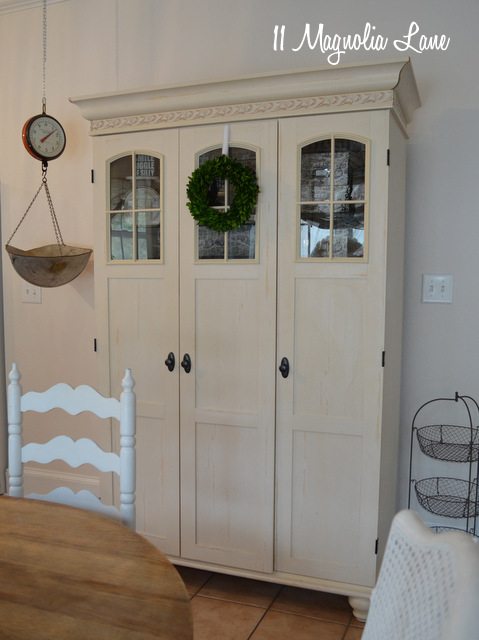
This is a medium-quality computer armoire that we’ve had for about seven or eight years. I think it was part of the Christopher Lowell Collection at Office Max, but it’s been a long time! It’s a distressed cream-colored wood, with glass shelves.
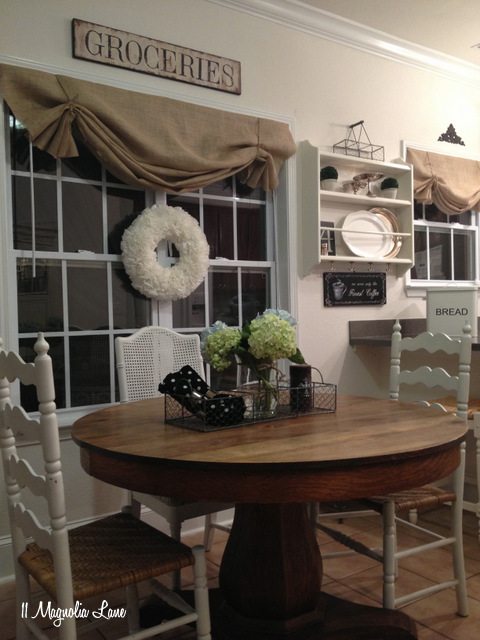
It lives in the kitchen, in our breakfast nook, and this is what it looks like when it’s closed:
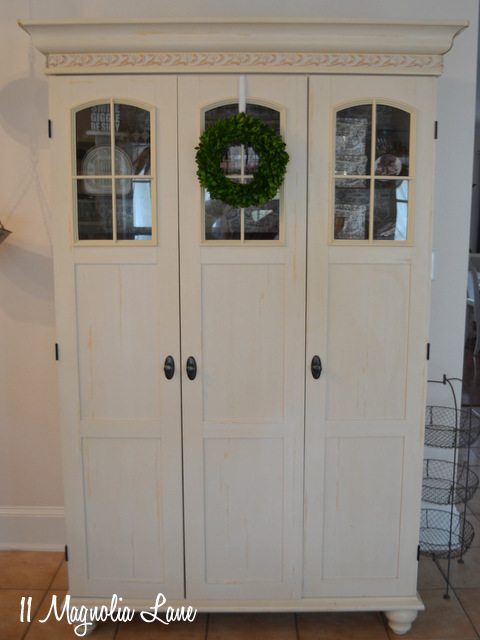
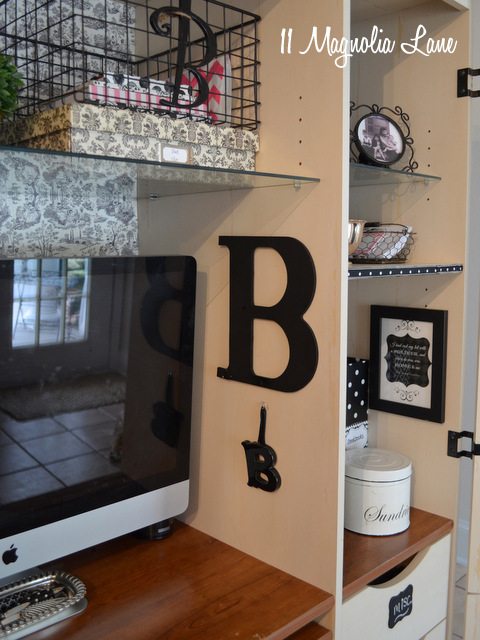
Because it’s open almost all day long, I wanted it to be pretty. Years ago, I “wallpapered” the back, using scrapbook paper in a toile pattern and spray glue.
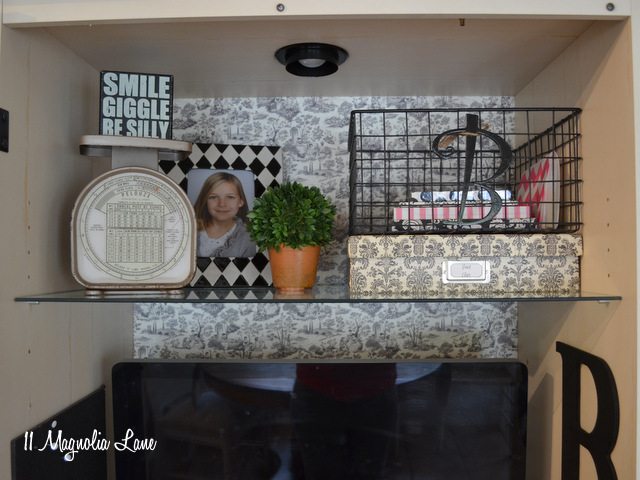
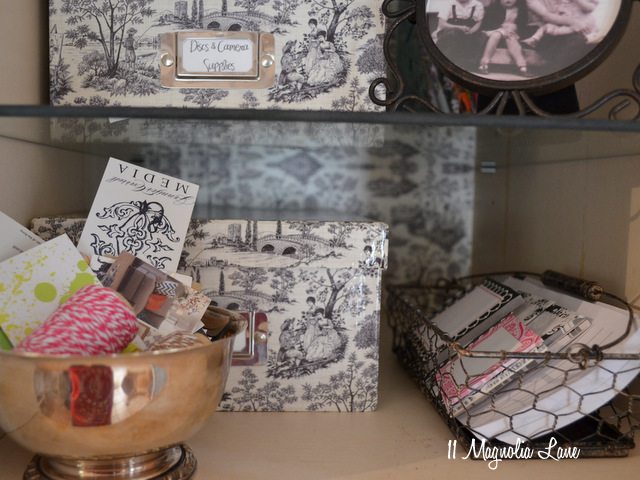
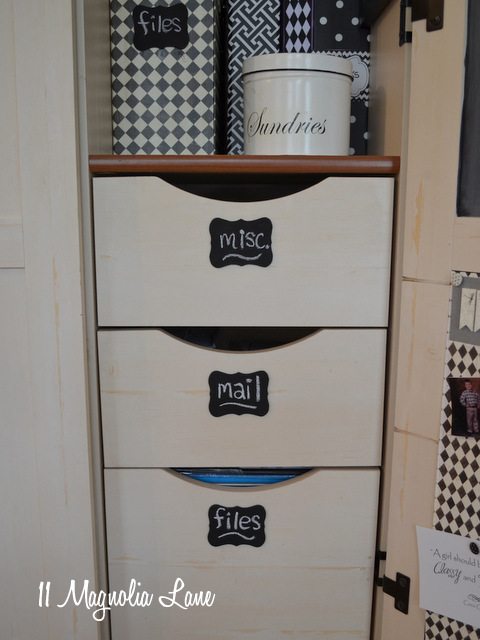
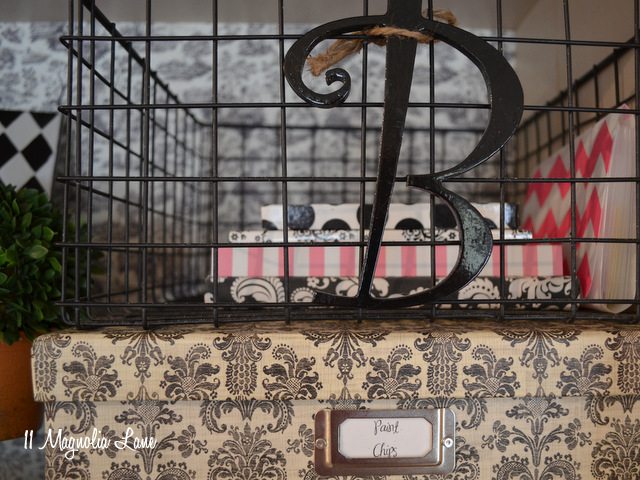
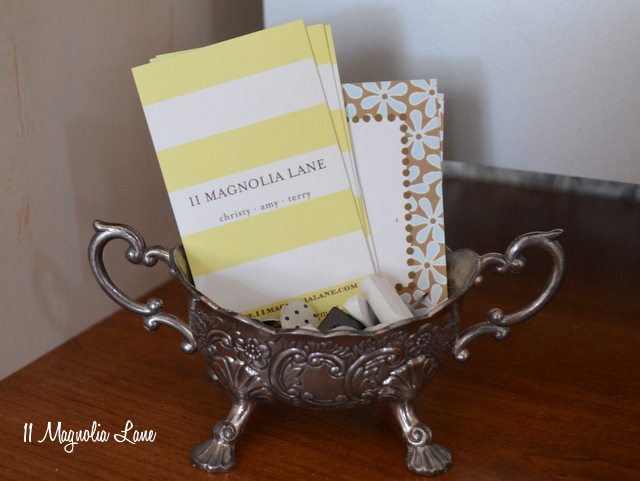
I also found some coordinating photo, file, and paper storage boxes in toile, damask, and harlequin diamond patterns (most from HomeGoods), which I use to store office supplies, computer discs and cables, and my overwhelmingly large collection of paint chips. 🙂 The silver bowl holds business cards, and the wire basket holds notepads (I’m addicted to notepads).
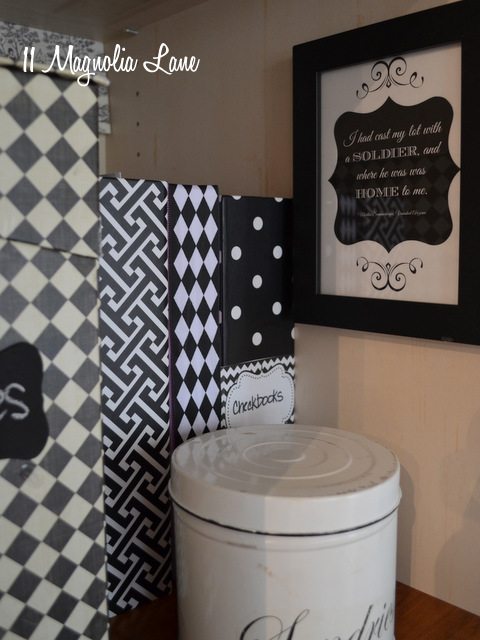
I have a collection of black and white binders and magazine storage files that I use to stash school papers, bills, and other pieces of paper that I use daily (there’s a drawer down below for other file storage).
The printable that I made for military spouses is on the wall and you can print that {here}.
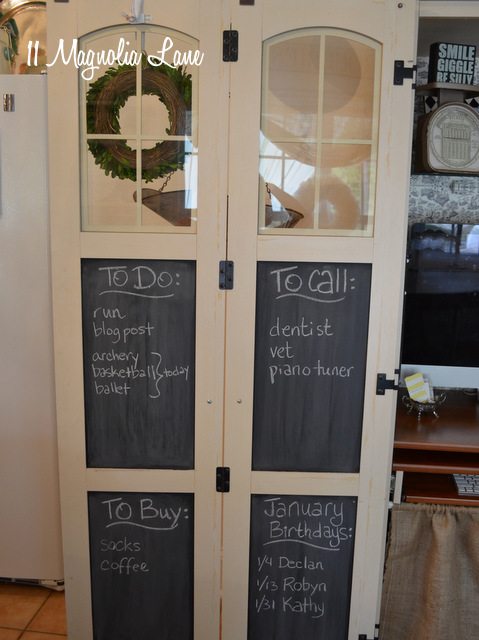
A few days ago, I decided to use Rust-Oleum chalkboard paint on the inside door panels so I could keep track of all of my various lists. I usually have a half-dozen sticky notes on the computer reminding me what I need to do next! I love being able to glance over and see what’s on my list:
On the right door, I painted one chalkboard section, but I already had made the bottom section a bulletin board long ago, simply by cutting cork squares to fit, glueing them in place, and then covering them with scrapbook paper.
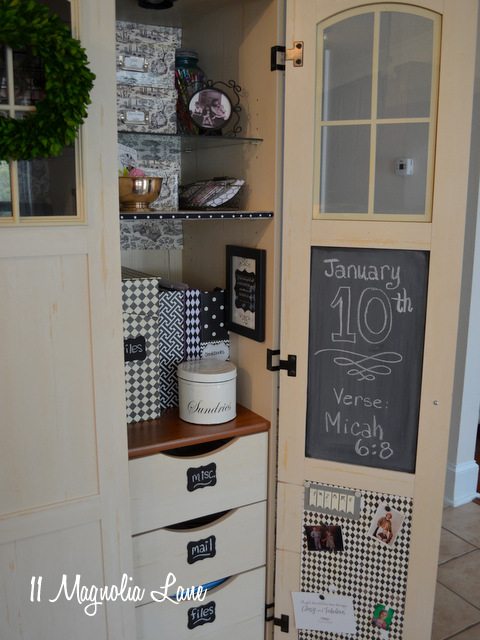
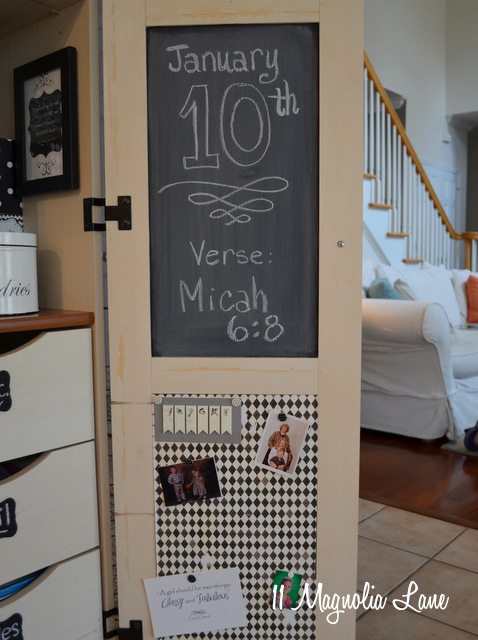
The drawers are labeled with wooden plaques that I sprayed with chalkboard paint (I posted about them here when I used them as Thanksgiving place cards). They’re attached with hot glue.
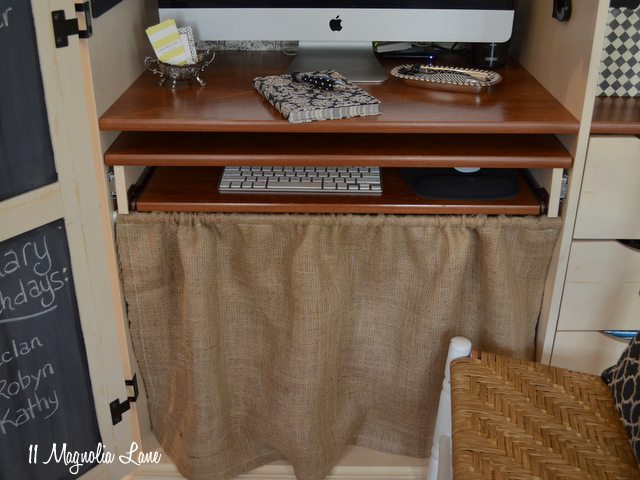
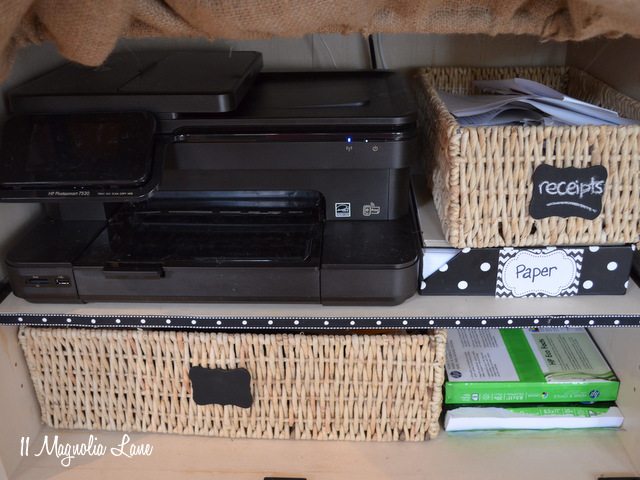
Because the printer and paper aren’t very pretty, I made a burlap skirt to cover the bottom shelves and attached it with a tension rod. The burlap is from Online Fabric Store and was in my swag bag from the Haven conference this summer. I absolutely love having the skirt over the trouble area!
Here’s the problem area–it’s really not too bad, but it looks so much better covered up.
And since I have burlap valances on my kitchen windows, it ties it all together.
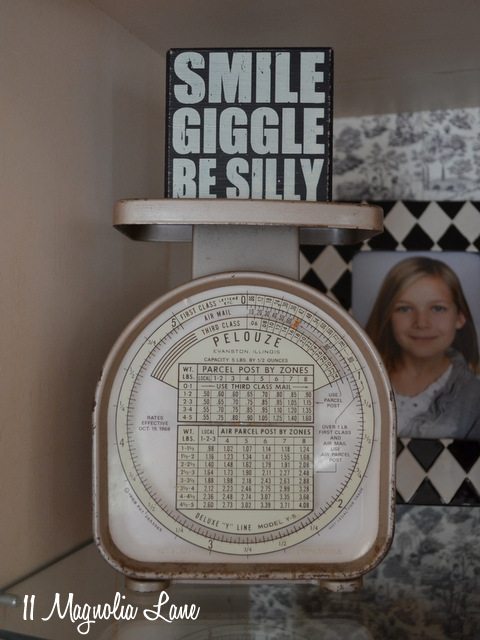
I clearly have a black and white obsession!
And a “B” obsession, too!
The scale was $2 at a yard sale–score!
I love using vintage silver sugar bowls and creamers to hold pens, cards, and thumbtacks. This one was $3 at Goodwill:
Now, on to the next project!
*****
You can follow the Operation: Organization Pinterest board {here}.
Here’s the rest of the all-star lineup for Operation: Organization: